
Warning, if you plan to complete Advent of Code 2023, this post contains spoilers so don’t read it until you’re done.
My last post on Advent of Code spurred a bunch of discussion which inspired me to optimize my 2023 solutions in python even further.
More Advent of Code optimization
2024-01-07
Advent of code 2023 in under a second in python (ish!)
2024-01-02

Warning, if you plan to complete Advent of Code 2023, this post contains spoilers so don’t read it until you’re done.
This was my second year completing Advent of Code live during December.
2023-06-19
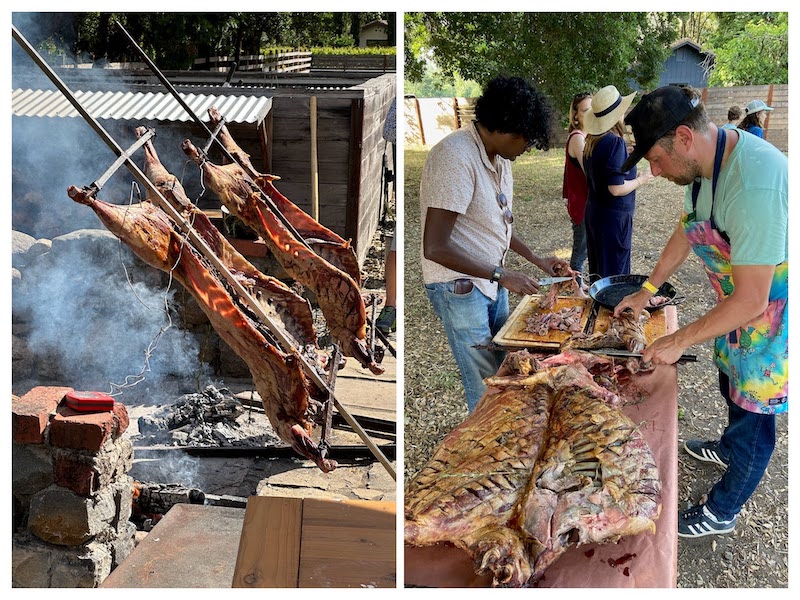
Lamb al asador is a classic Patagonian method of barbecue with a whole lamb flayed and hung on an asado cross over an open fire. I had the good fortune to be able to eat lamb al asador in Chile in early 2020 (pre lockdown!
2023-01-14
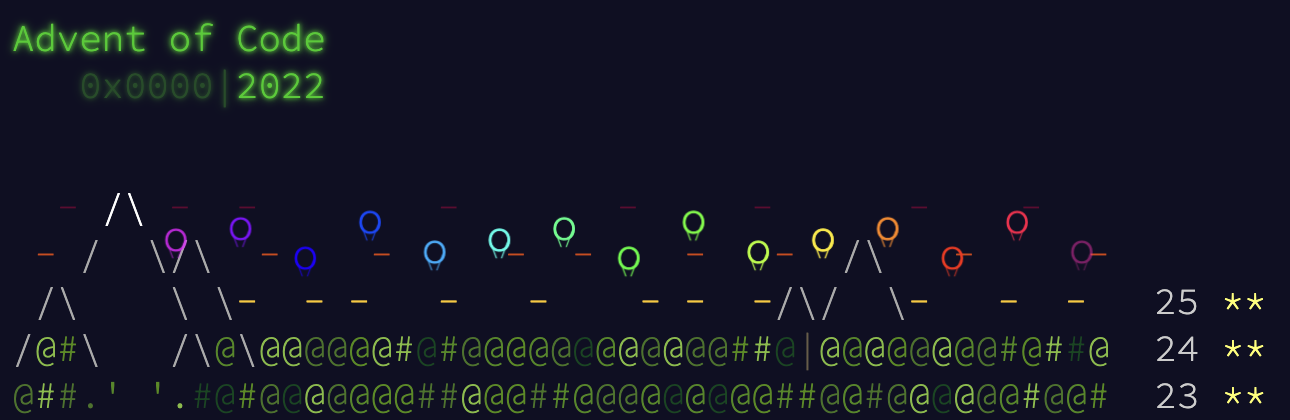
The contest Advent of Code is an advent calendar of programming puzzles made by Eric Wastl. It’s been going since 2015 and really gained popularity in 2020. I’d heard about AOC peripherally (is… peripheral hearing a thing?
TOTP tokens on my wrist with the smartest dumb watch.
2022-10-17

I recently took delivery of a new replacement logic board for the ubiquitous classic Casio F-91W from Sensor Watch. The F-91W needs no introduction. It’s probably the most popular quartz watch in the world with something like 90 million total units sold.
2022-08-31

As you’ll know if you follow me on Twitter, I’ve been kindof obsessed with the text-to-image GPT models OpenAI released as DALL-E recently. I’ve enjoyed generating art and even collaborating with DALL-E to riff on paintings I’ve made myself.
2022-05-29
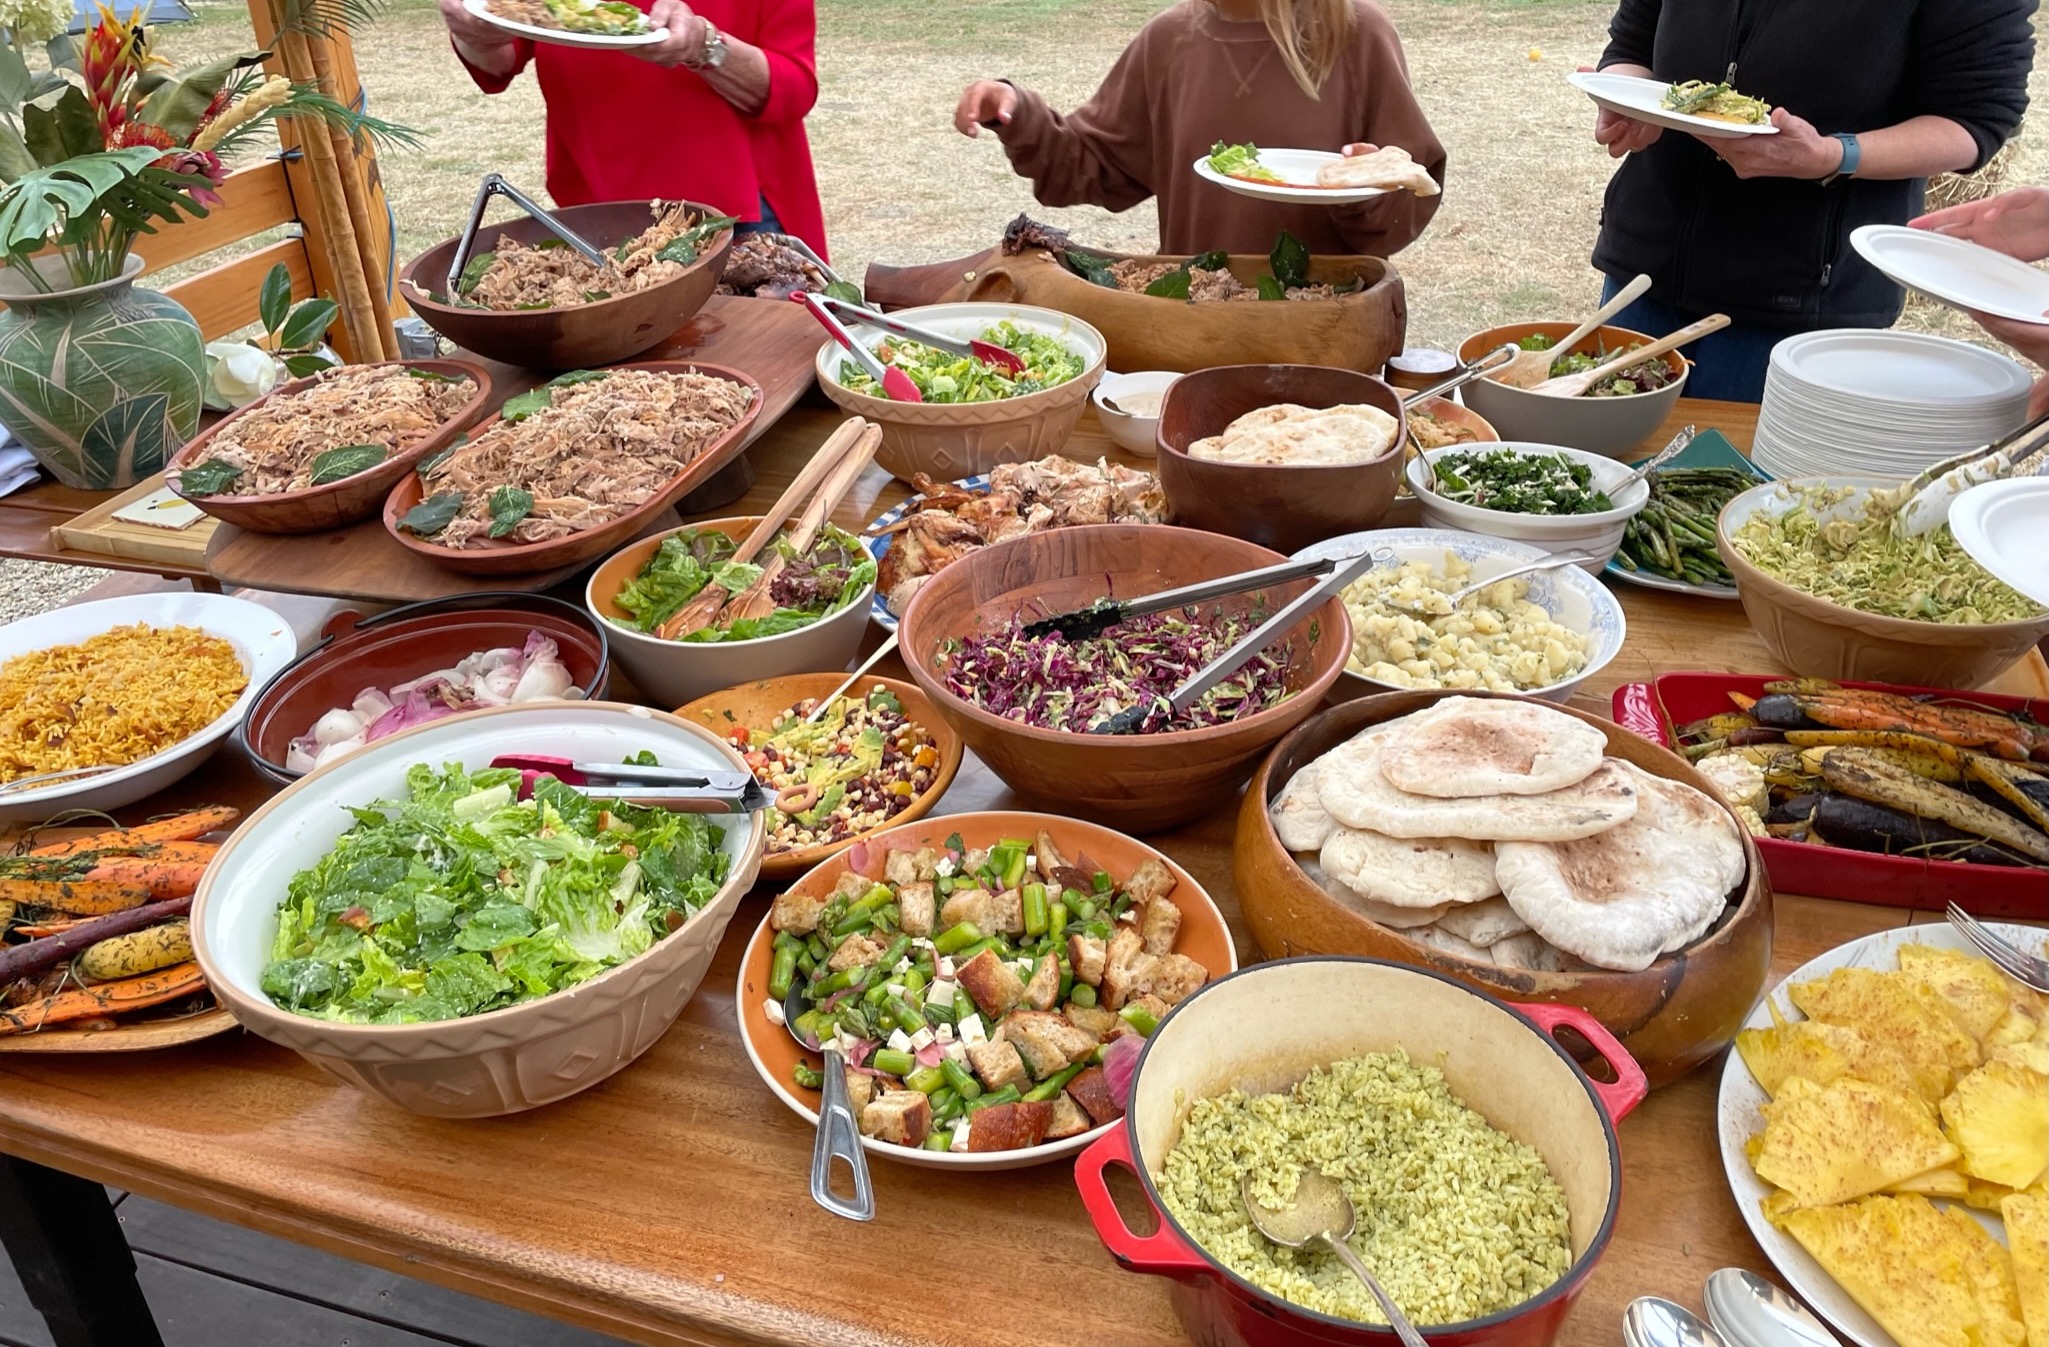
If you’ve ever enjoyed a Luau in Hawaii, chances are that the pièce de résistance was delicious melt-in-the-mouth Kālua Pork which is often served as the centrepiece of the Luau feast.